The Ultimate Guide to Installing French Doors Yourself
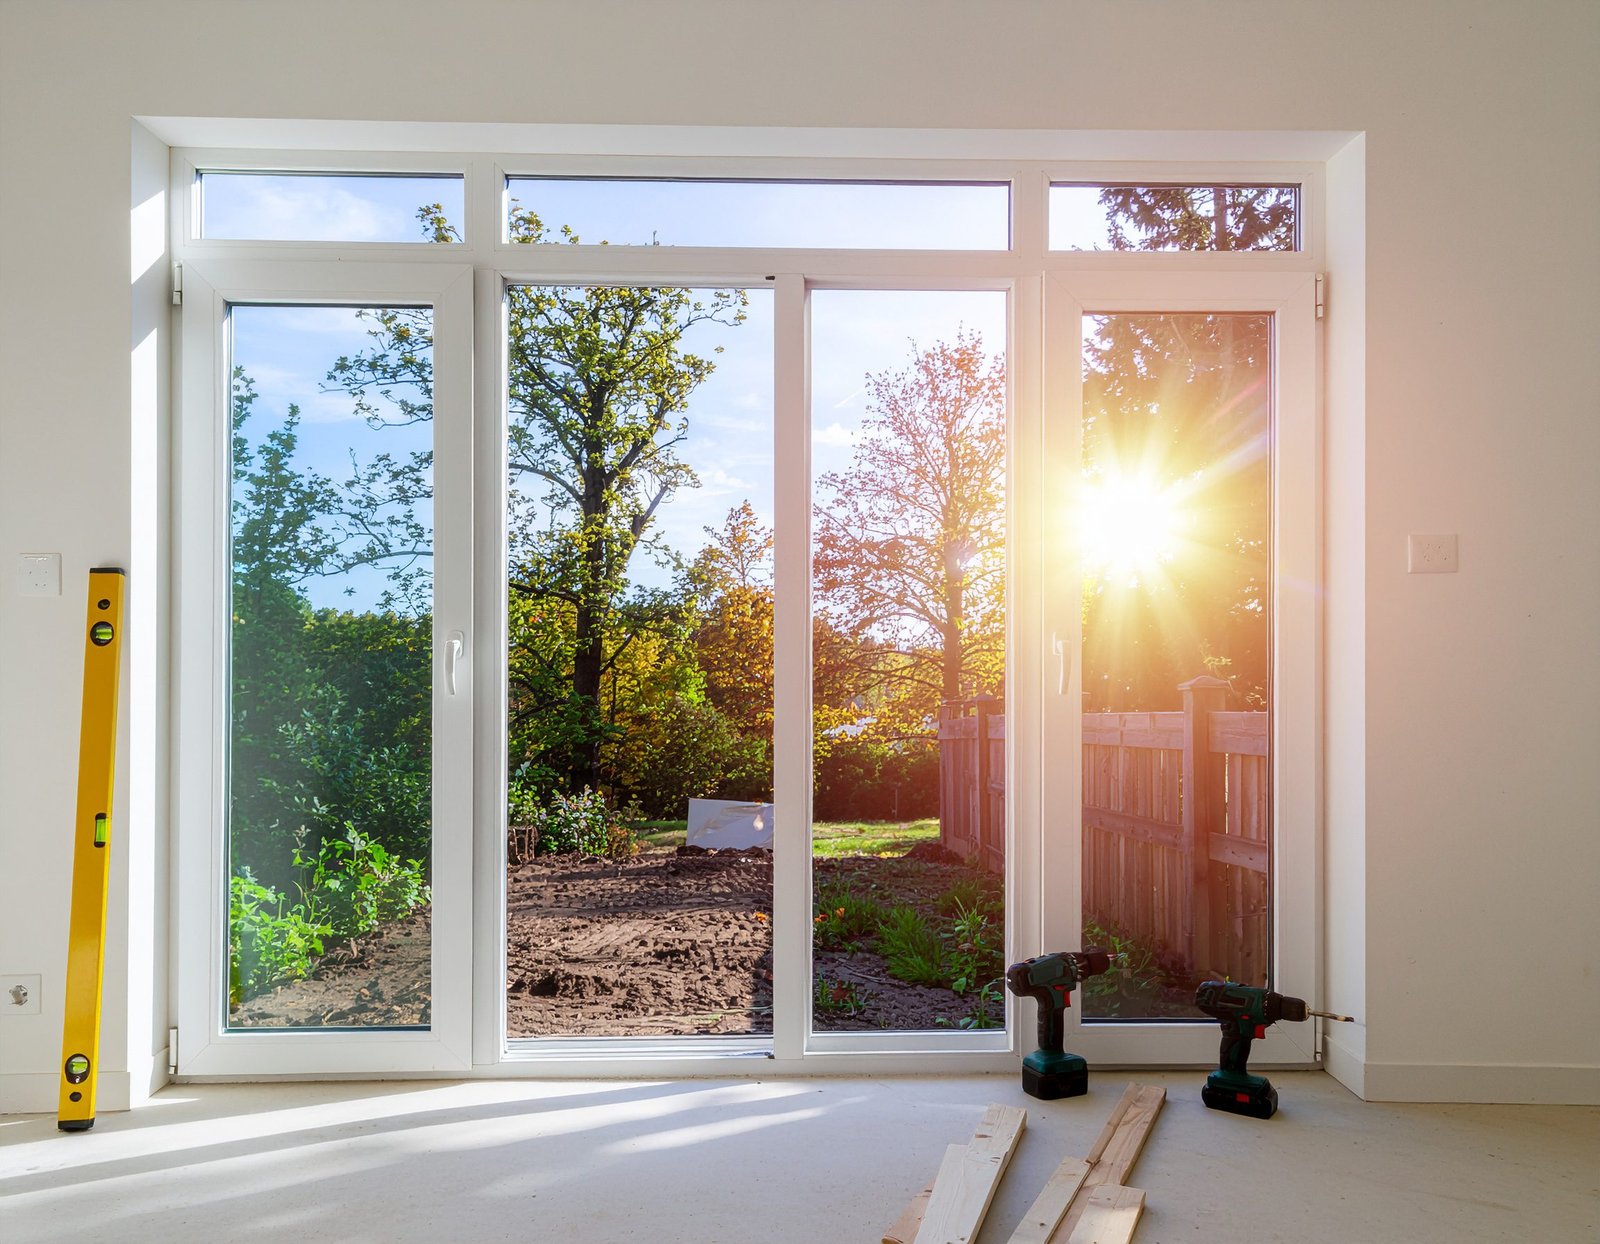
French doors have a way of transforming a home. That pair of glass-paneled doors swinging open between rooms or out to a patio adds light, elegance, and a sense of openness that few other upgrades can match. The quotes for professional installation, however, can stop you in your tracks. Labor alone often costs as much as the doors themselves.
Here is the encouraging truth. Installing French doors yourself is a genuinely achievable weekend project for a reasonably handy person with patience and a helper. I will not pretend it is effortless, because hanging double doors demands more precision than a single door. But the process follows a clear, logical sequence, and when you understand each step before you start, the job goes from intimidating to entirely manageable.
This guide walks you through the entire process, from choosing the right doors and prepping the opening to hanging, sealing, and finishing, along with the mistakes that trip up first-timers and the insider tricks that make everything easier.
Deciding If DIY Installation Is Right for You
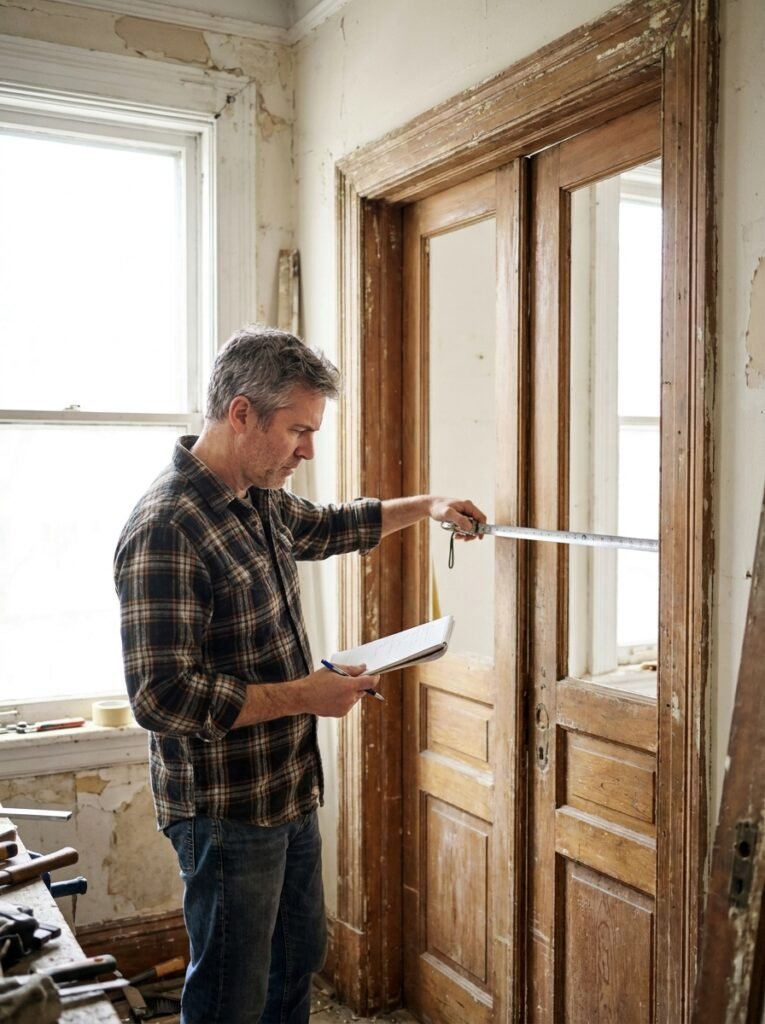
Before buying anything, take an honest look at your situation, because not every French door project suits a first-time installer.
The friendliest scenario is replacing existing French doors or double doors with new ones of the same size. The opening already exists, the structure is sound, and the job is mostly about careful fitting. Installing into an existing single door opening or creating a brand new opening in a wall raises the difficulty considerably, since that involves framing work and possibly a new header, which carries structural weight.
Interior French doors are noticeably easier than exterior ones. Interior installations skip the waterproofing, flashing, and weatherproofing steps that exterior doors demand, and the consequences of small imperfections are far lower.
Be honest about your skills too. If you are comfortable with a level, a drill, shims, and careful measuring, you have what the job requires. If a wall needs to be opened up or a load-bearing header installed, bringing in a professional for that portion is money well spent, and you can still hang the doors yourself afterward.
Choosing the Right French Doors
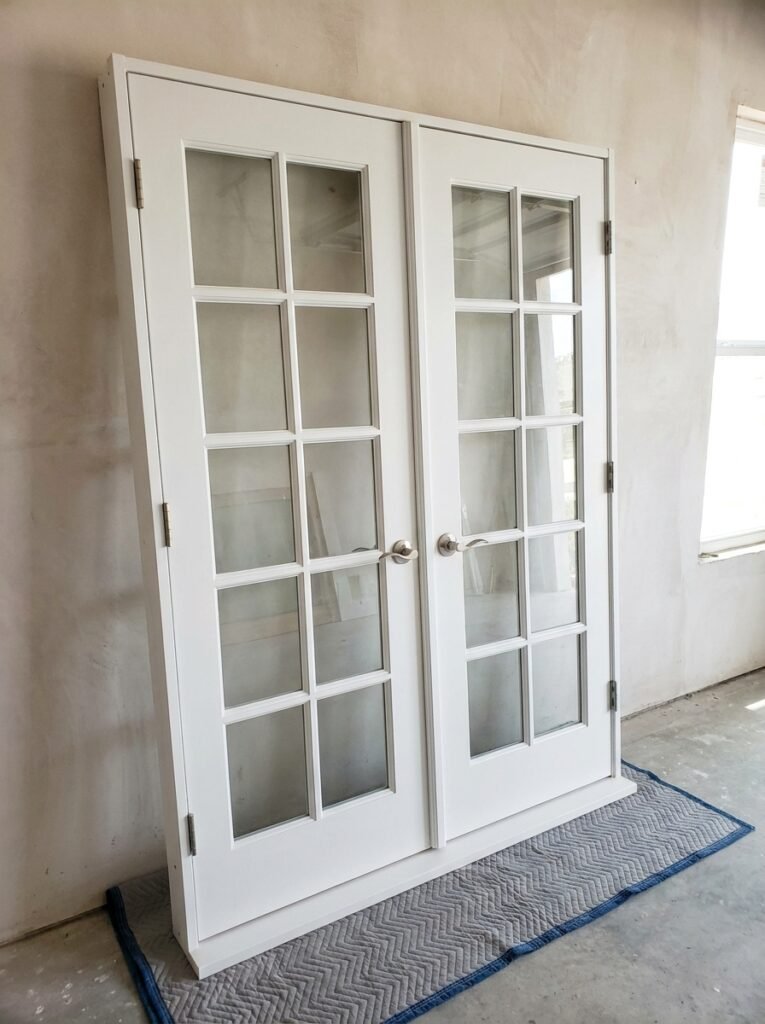
The doors you buy shape the entire installation experience, so this decision deserves real attention before any tools come out.
Pre-hung French doors arrive already mounted in their frame with hinges attached, and they are by far the best choice for DIY installation. You install the whole unit as one piece, which eliminates the trickiest parts of door hanging. Slab doors, which come without a frame, require mortising hinges and building a perfectly square frame yourself, a job best left to experienced carpenters.
For exterior installations, look at materials with weather in mind. Fiberglass and vinyl-clad doors resist warping and need little maintenance, while solid wood offers unmatched beauty but demands regular sealing and care. Double-pane or low-E glass makes a real difference in comfort and energy bills.
For interior use, consider how much privacy each room needs. Clear glass keeps sightlines open, frosted or reeded glass softens the view while passing light, and divided panes add traditional charm.
Measure your rough opening before ordering, not after. Standard French door units run around 60 to 72 inches wide, but openings vary, and a unit that matches your actual opening saves enormous frustration.
Gathering Your Tools and Materials
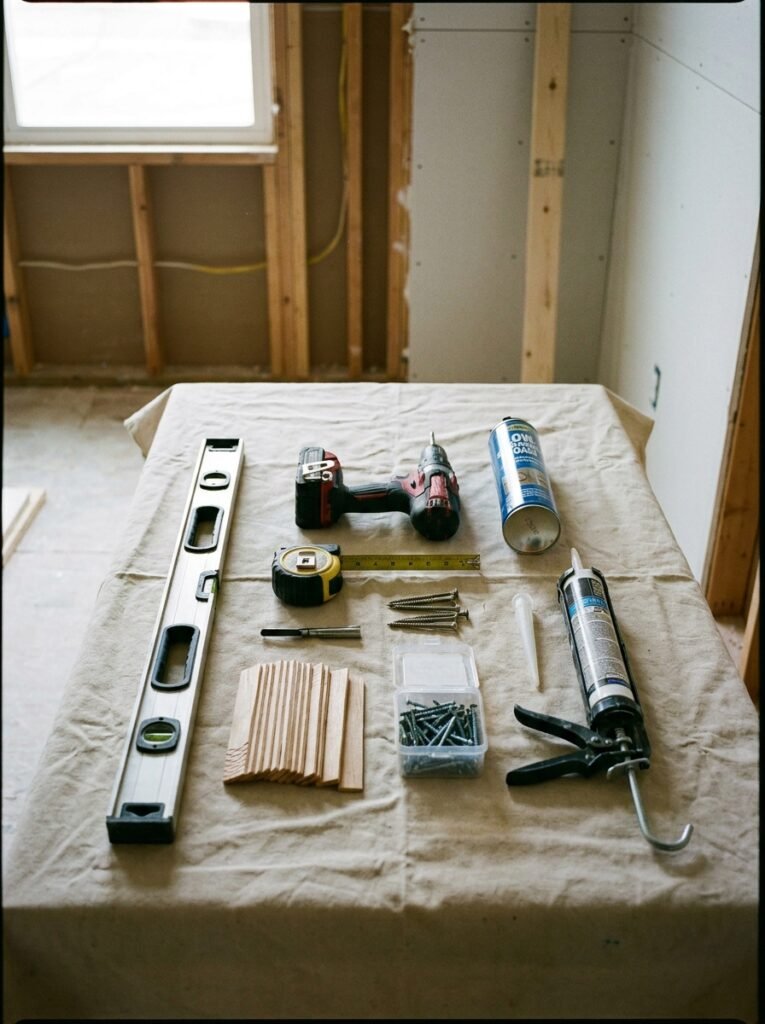
Having everything on hand before you start prevents the mid-project hardware store runs that stretch a weekend job into a week.
For tools, you will need:
- A quality level, ideally both a 4-foot and a smaller torpedo level.
- A drill with driver bits and drill bits.
- A tape measure, utility knife, and pencil.
- A hammer and pry bar for removing the old door and trim.
- A circular saw or hand saw for shims and minor trimming.
- Safety glasses and work gloves.
For materials, gather:
- The pre-hung French door unit itself.
- A generous supply of wood shims.
- Three-inch screws for anchoring through the frame into studs.
- Low-expansion spray foam insulation made specifically for doors and windows.
- Exterior-grade caulk and flashing tape for outdoor installations.
- New interior trim or casing if the old trim will not survive removal.
One more essential item deserves mention, and that is a helper. French door units are heavy and awkward, and a second pair of hands during positioning is close to mandatory for both safety and accuracy.
Removing the Old Door and Preparing the Opening
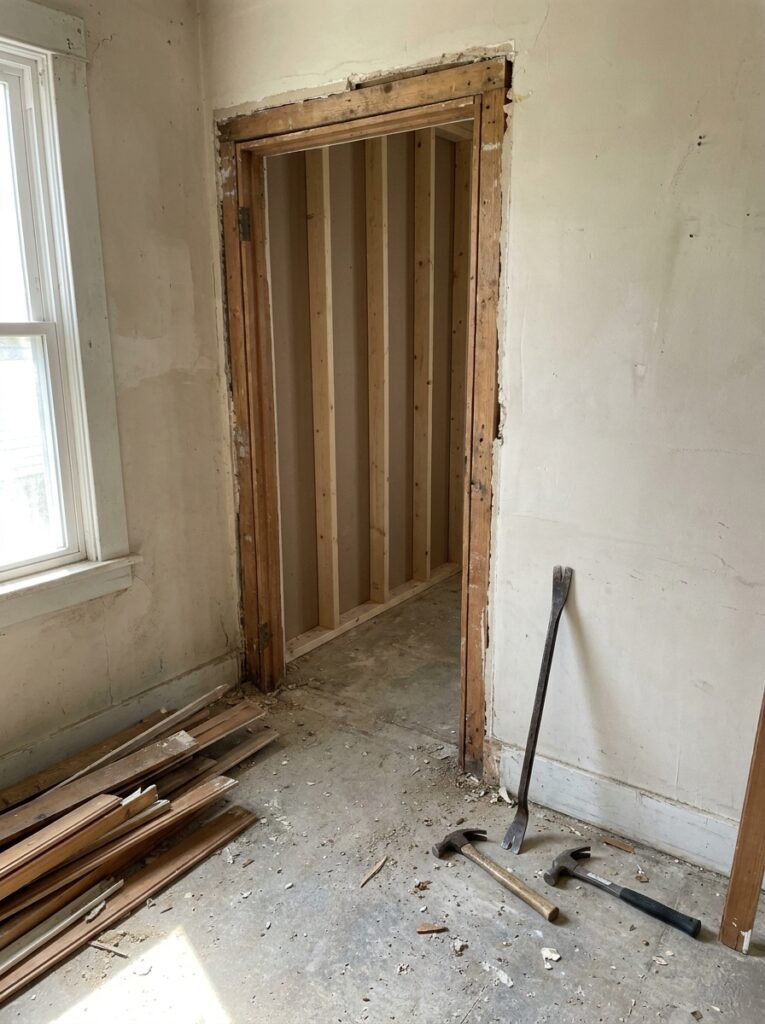
With the new unit ready, the demolition phase begins, and careful removal now makes everything easier later.
Start by removing the old doors from their hinges, then pry off the interior and exterior trim slowly. Work the pry bar gently with a scrap of wood behind it to protect the wall if you plan to reuse the trim. With the trim gone, remove the screws or nails holding the old frame to the studs and pull the entire frame out.
Now inspect the rough opening honestly. Look for rot, water damage, or insect trouble, especially at the bottom corners of exterior openings. Any compromised wood must be repaired or replaced before the new door goes in, because a beautiful new unit anchored to rotten framing will not stay beautiful long.
Check the opening with your level and tape measure. Measure the width at the top, middle, and bottom, and the height on both sides. The rough opening should be about half an inch to three-quarters of an inch larger than the door unit in both directions, giving you room for shims and adjustment. Check that the floor of the opening, called the sill area, is level, since an out-of-level sill causes doors that swing open or closed on their own.
For exterior installations, this is the moment to apply flashing tape across the sill and up the sides of the opening, creating the waterproof barrier that protects your home for decades.
Setting and Leveling the Door Unit
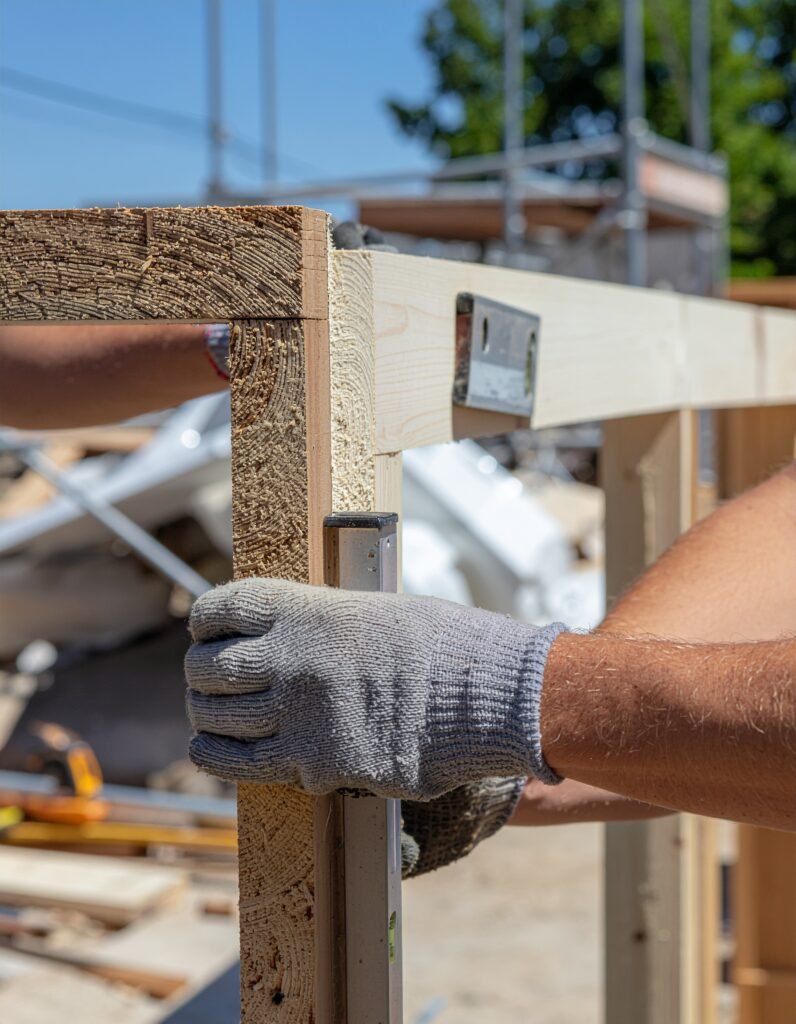
This is the heart of the entire project, and patience here determines whether your doors swing beautifully or fight you forever.
With your helper, lift the pre-hung unit and set it into the opening from the outside for exterior doors, or from either side for interior ones. Center it in the opening with roughly equal gaps on both sides. For exterior doors, run a generous bead of caulk along the sill first so the threshold seats into it.
Now the careful work begins. Check the hinge-side jamb with your level and adjust until it reads perfectly plumb, meaning perfectly vertical in both directions. Slide shims between the jamb and the stud at each hinge location, snugging them just enough to hold the position without bowing the frame.
Drive one screw through the jamb and shims into the stud at the top hinge location, but do not fully tighten anything yet. Check plumb again, then work down the hinge side, shimming and screwing at each hinge point.
Move to the head jamb across the top, checking it for level, then repeat the shimming process on the latch side. Throughout this stage, keep checking that the frame stays square by measuring diagonally from corner to corner. Equal diagonal measurements mean a square frame.
The moment of truth comes when you swing both doors. They should meet evenly in the middle with a consistent gap between them from top to bottom, close smoothly, and stay put wherever you leave them. Uneven gaps mean adjusting shims until everything aligns. Take your time here. Fifteen extra minutes of shim adjustment saves years of annoyance.
Securing, Insulating, and Sealing
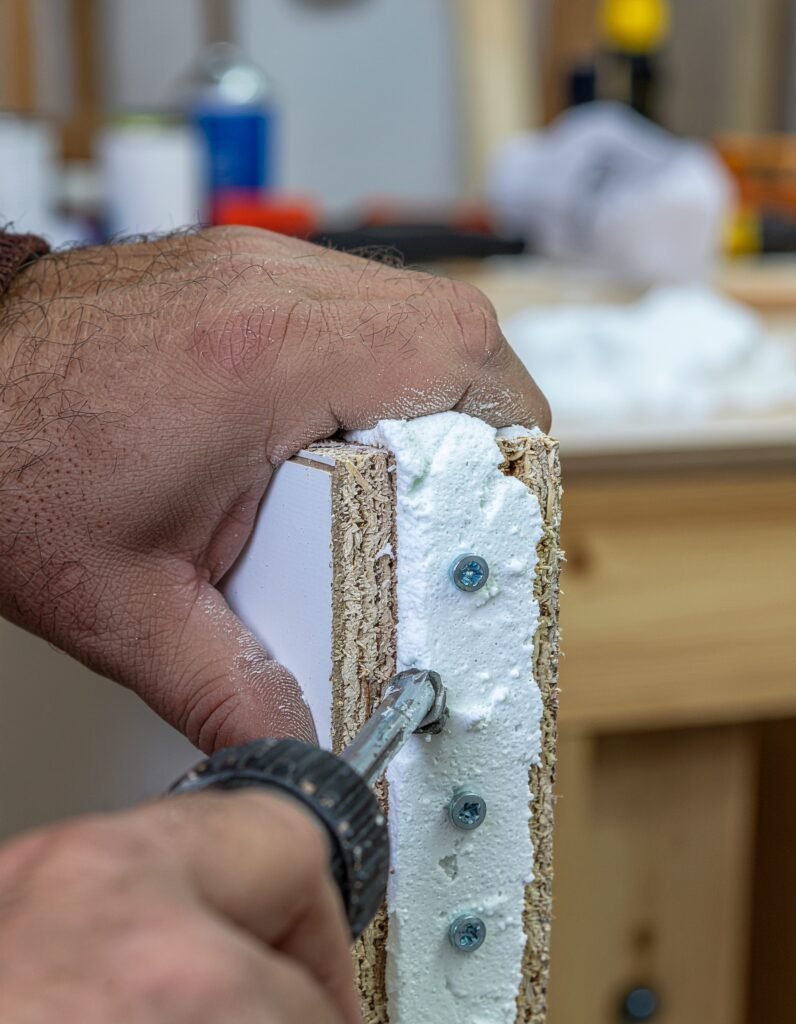
Once the doors swing perfectly, lock everything in place permanently.
Drive your three-inch screws through the jambs and shims into the studs at each shim location, replacing or supplementing any temporary screws. Many installers hide screws behind the hinge leaves and in the latch strike area where hardware covers them. Score the protruding shims with a utility knife and snap them off flush with the frame.
Next comes insulation. Fill the gap between the frame and the rough opening with low-expansion foam, working in light passes. This detail matters enormously, because standard expanding foam generates enough pressure to bow your perfectly set jambs inward and ruin the door operation you worked so hard to achieve. Low-expansion window and door foam fills the gap gently.
For exterior doors, caulk the entire perimeter where the frame meets the siding or exterior wall, and install or verify the drip cap above the door that sheds water away from the frame. These weatherproofing steps protect everything beneath them, so give them real care.
Install the handles, locksets, and any astragal hardware following the manufacturer’s instructions, then test the doors again with all hardware in place.
Adding Trim and Finishing Touches
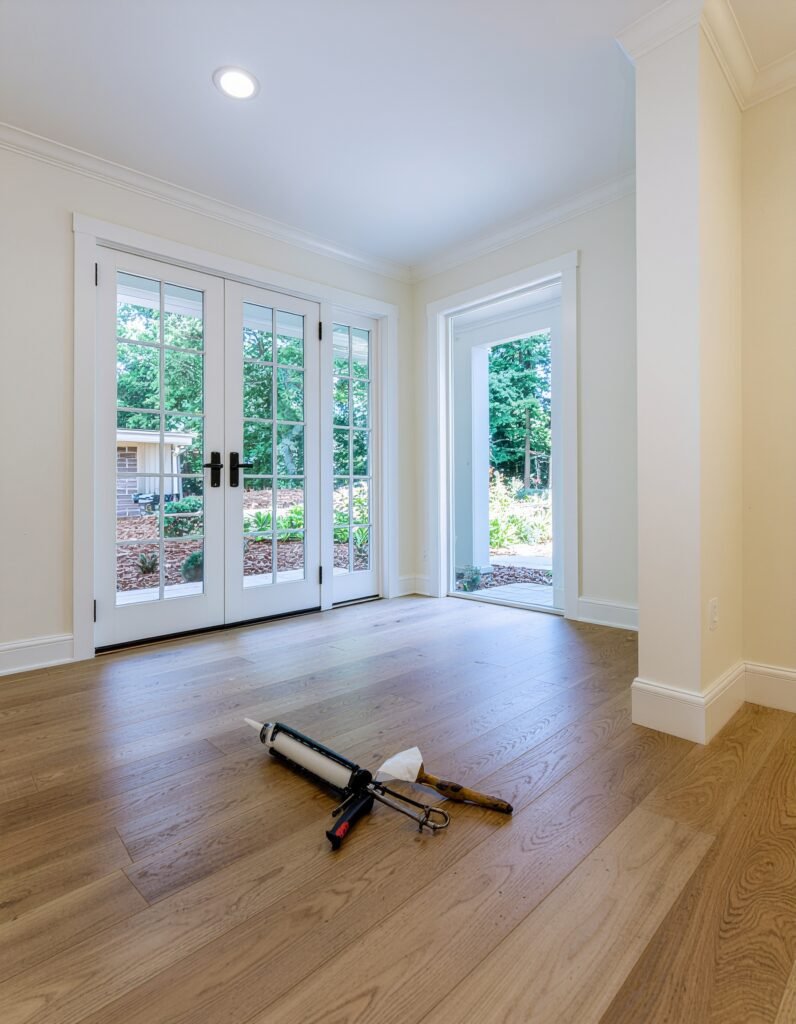
The finishing stage transforms a functional installation into one that looks professionally done.
Install casing around the door on both sides, covering the shimmed gap between frame and wall. Mitered corners at 45 degrees give the classic picture-frame look, while butted corners with rosette blocks suit more traditional homes. A brad nailer speeds this dramatically, but careful hand nailing works fine.
Caulk the seam where trim meets wall, fill nail holes with wood filler, and paint or stain everything to match your vision. For exterior doors, paint or seal any exposed wood promptly, since bare wood and weather are a bad combination.
Finally, adjust the strike plates so the doors latch crisply, and add any finishing hardware like ball catches or surface bolts for the stationary door. Stand back and admire what you built, because this is a project worth being proud of.
Practical Tips That Make the Job Easier
A handful of insider habits separate smooth installations from frustrating ones.
- Dry-fit the unit in the opening before applying any caulk so surprises appear while they are still easy to fix.
- Keep the doors closed and latched in the frame while setting and shimming, since the closed position reveals alignment problems instantly.
- Buy twice as many shims as seems necessary, because they are cheap and running out mid-adjustment is maddening.
- Take photos of the opening at each stage, which helps if you need advice from a hardware store or online forum mid-project.
- Work in mild weather for exterior installations so caulk and foam cure properly and your home is not open to the elements in extremes.
- Read your specific door manufacturer’s instructions completely, since some units have particular requirements that override general guidance.
Common Mistakes to Avoid
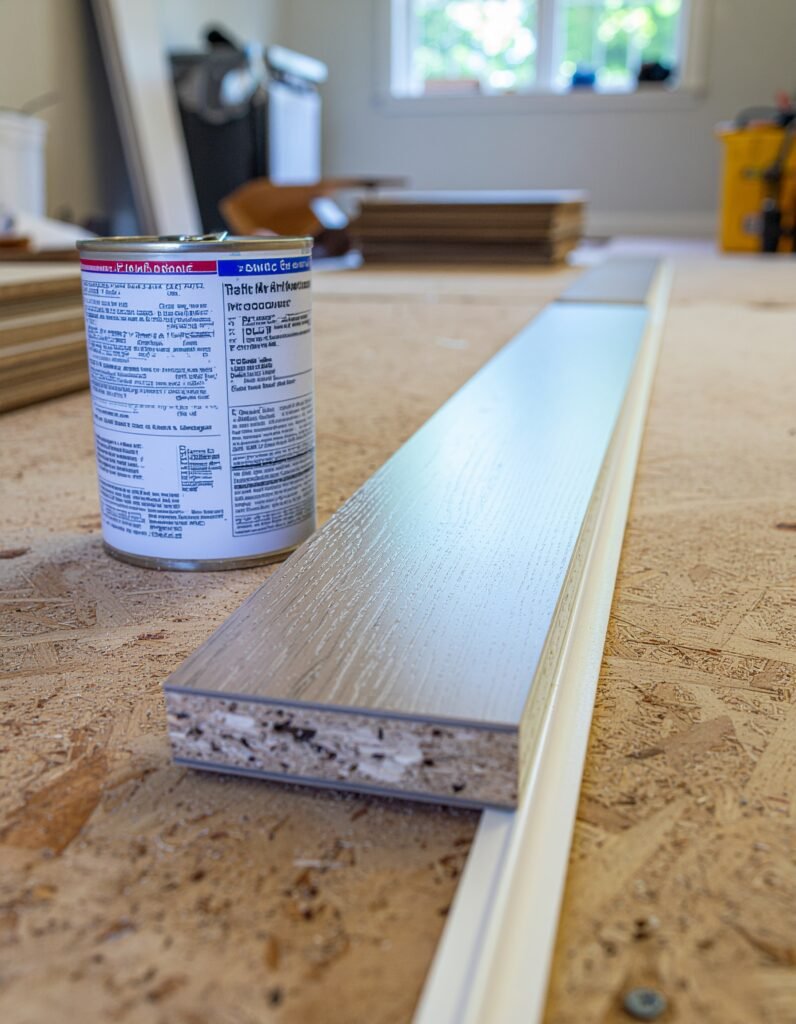
The most frequent DIY error is rushing the shimming and leveling stage. Doors anchored before the frame is truly plumb and square never operate right, and no amount of hardware adjustment fixes a crooked frame. Slow down during setting, and everything afterward gets easier.
Using regular expanding foam instead of low-expansion foam ruins more door installations than almost anything else. The pressure bows the jambs inward, the doors bind, and the fix means cutting out cured foam and starting the sealing over.
Skipping the sill flashing on exterior doors invites slow, hidden water damage that appears years later as rot at the bottom of the frame. The flashing tape costs little and takes minutes.
Measuring the old door instead of the rough opening leads to ordering the wrong size unit. The rough opening in the wall is the measurement that matters, so always pull the trim or measure carefully around it before ordering.
Finally, attempting the lift and set without a helper risks both the door and your back. These units are heavy, glass is unforgiving, and a second person turns a risky wrestle into a controlled placement.
Expert Insights From the Trades
Professional door installers share a few pieces of wisdom that serve DIYers well. The first is that the opening is everything. Pros spend most of their time on the rough opening and frame setting, and comparatively little on the doors themselves, because a square, plumb, well-prepared opening makes the rest almost automatic.
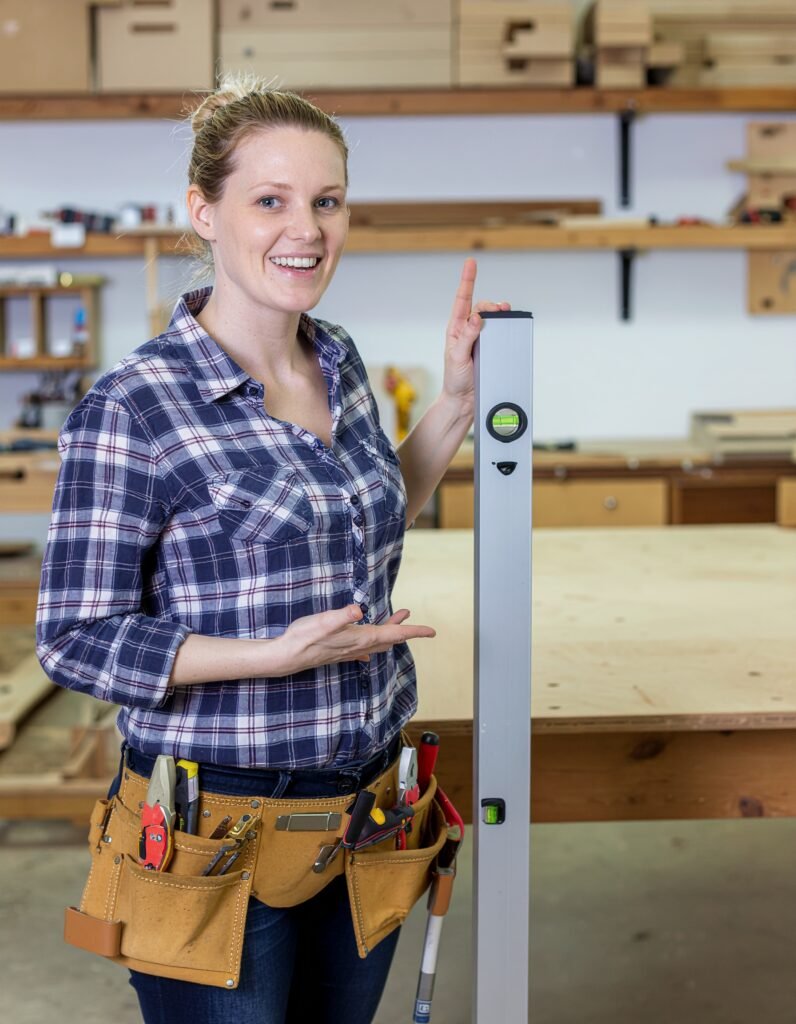
Carpenters also emphasize checking your level itself before trusting it. Set it on a surface, note the bubble, then flip it end for end. If the bubble reads differently, the level is inaccurate, and every measurement it gives you will be too.
Another professional habit worth copying is the door operation test at every stage. Swing the doors after every few shims and screws rather than waiting until the end, since catching a developing problem early takes moments while discovering it at the end can mean starting over.
Finally, experienced installers recommend leaving the protective film on glass panels until all construction, painting, and caulking is complete. Paint splatter and caulk smears wipe off film effortlessly and off glass much less so.
Conclusion
Installing French doors yourself sits in that satisfying sweet spot of home improvement, challenging enough to feel like a real accomplishment and approachable enough that a careful beginner can genuinely succeed. The formula is straightforward. Choose a pre-hung unit, prepare the opening honestly, take your time with shims and levels, use low-expansion foam, and never skip the weatherproofing on exterior doors.
Recruit a helper, clear a weekend, and work patiently through each stage. When those glass doors finally swing open with a smooth, even sweep and latch with a satisfying click, you will have added light, elegance, and value to your home with your own hands, and saved a healthy sum doing it. Once the doors are in, that same money-saving mindset carries over beautifully into styling the room around them, and these simple home decor ideas on a budget are a great next step for finishing the space without overspending.